Video Calling
Call your teammates and edit files together in real-time, straight from your IDE
Overview
GitLive’s video-calling feature allows you to call teammates straight from your IDE and work together on files like you would on a Google Docs collaboration. This feature will undoubtedly boost your productivity when you want to fix code issues with a teammate.
Instructions
Step 1
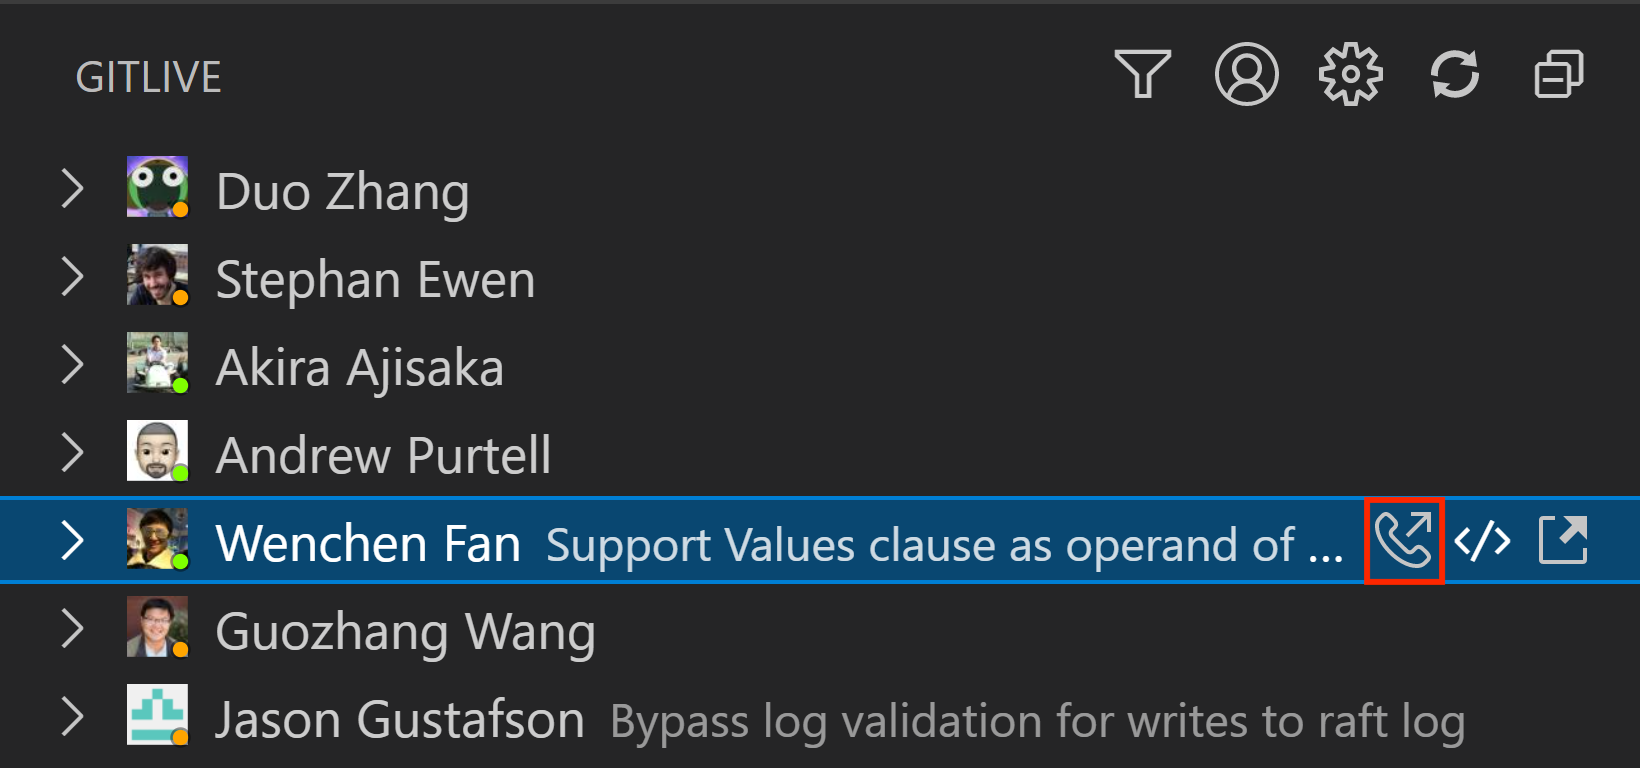
Next to a teammate’s name, you will find a phone icon allowing you to place a call.
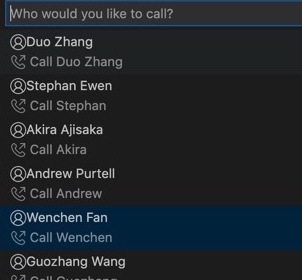
You can also call any teammate through the command palette. First, select “Call a Teammate” and you will have a dropdown list of all of your collaborators on the project.
Step 2
You will then get a pop-up notification that you have sent the request to call and are waiting for your teammate to accept it. The call gets cancelled automatically after 15 seconds, leaving your teammate with a notification about the missed call and the option to call back.

Step 3
The teammate you are looking to call will then get a pop-up notification. Once they answer, the call opens up in their browser.

Call Interface
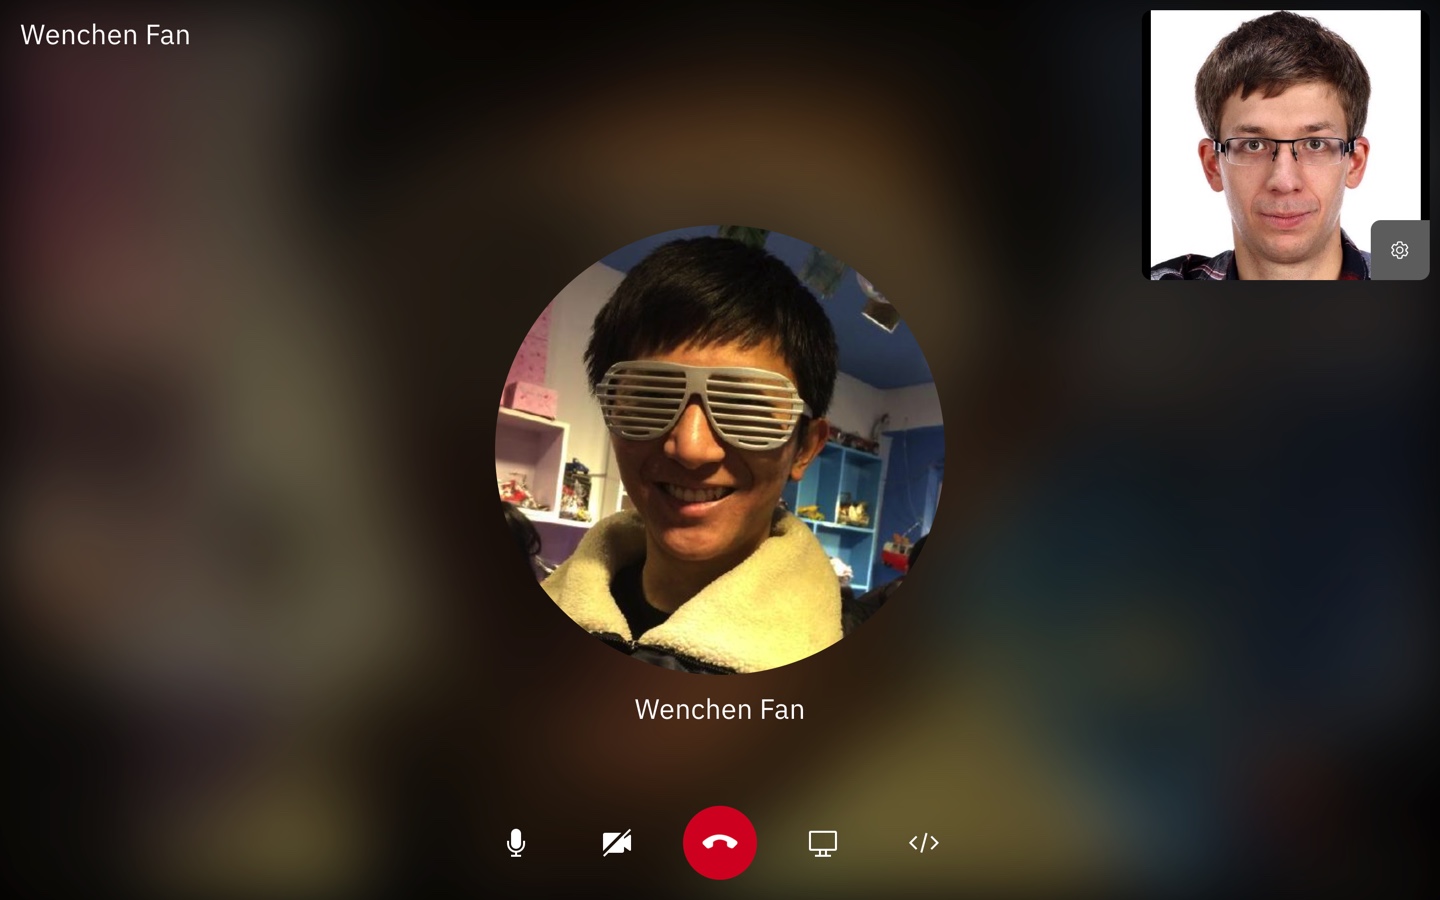
The call is launched through a web app, that opens up after a call has been answered.
Calling Features
There are four main controls available whilst on the call. You can choose to mute yourself, to enable or disable video, to screen share or codeshare.

|

|

|

|
CodeShare
Selecting the share code option opens up a modal, which shows the different projects you have open and the different methods of pair programming that are available.
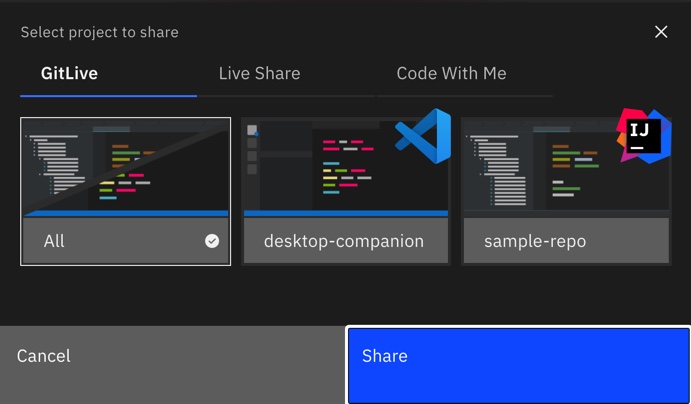
Selecting the GitLive option is the quickest way to start a collaboration session in your IDE. This means that any file the host opens will also open in the IDE of the guest, allowing you both to edit together as you would in a google doc. You can even codeshare on files that aren’t under source control (such as files ignored in Git) or files from outside the directory (such as external libraries’ source files.
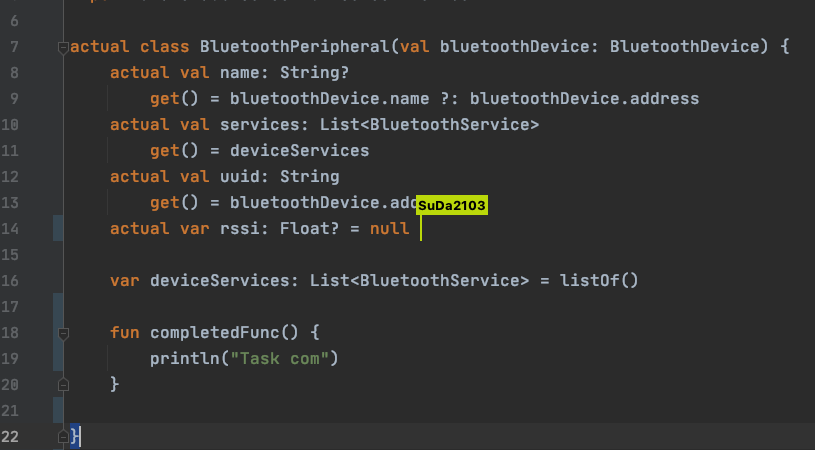
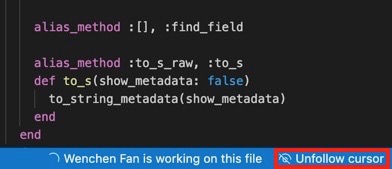
By default, you will automatically follow each other’s cursors when scrolling or switching files. You can disable following from within the IDE to work independently.
If you have Live Share installed, you can choose to use that to collaborate, instead of GitLive’s proprietary code sharing solution. You can find more information about using Live Share here.
ScreenShare
You have the option to share your screen with the other participant on the call, which can be useful if you need to share content from your browser or terminal. You can share a specific window or your entire desktop.
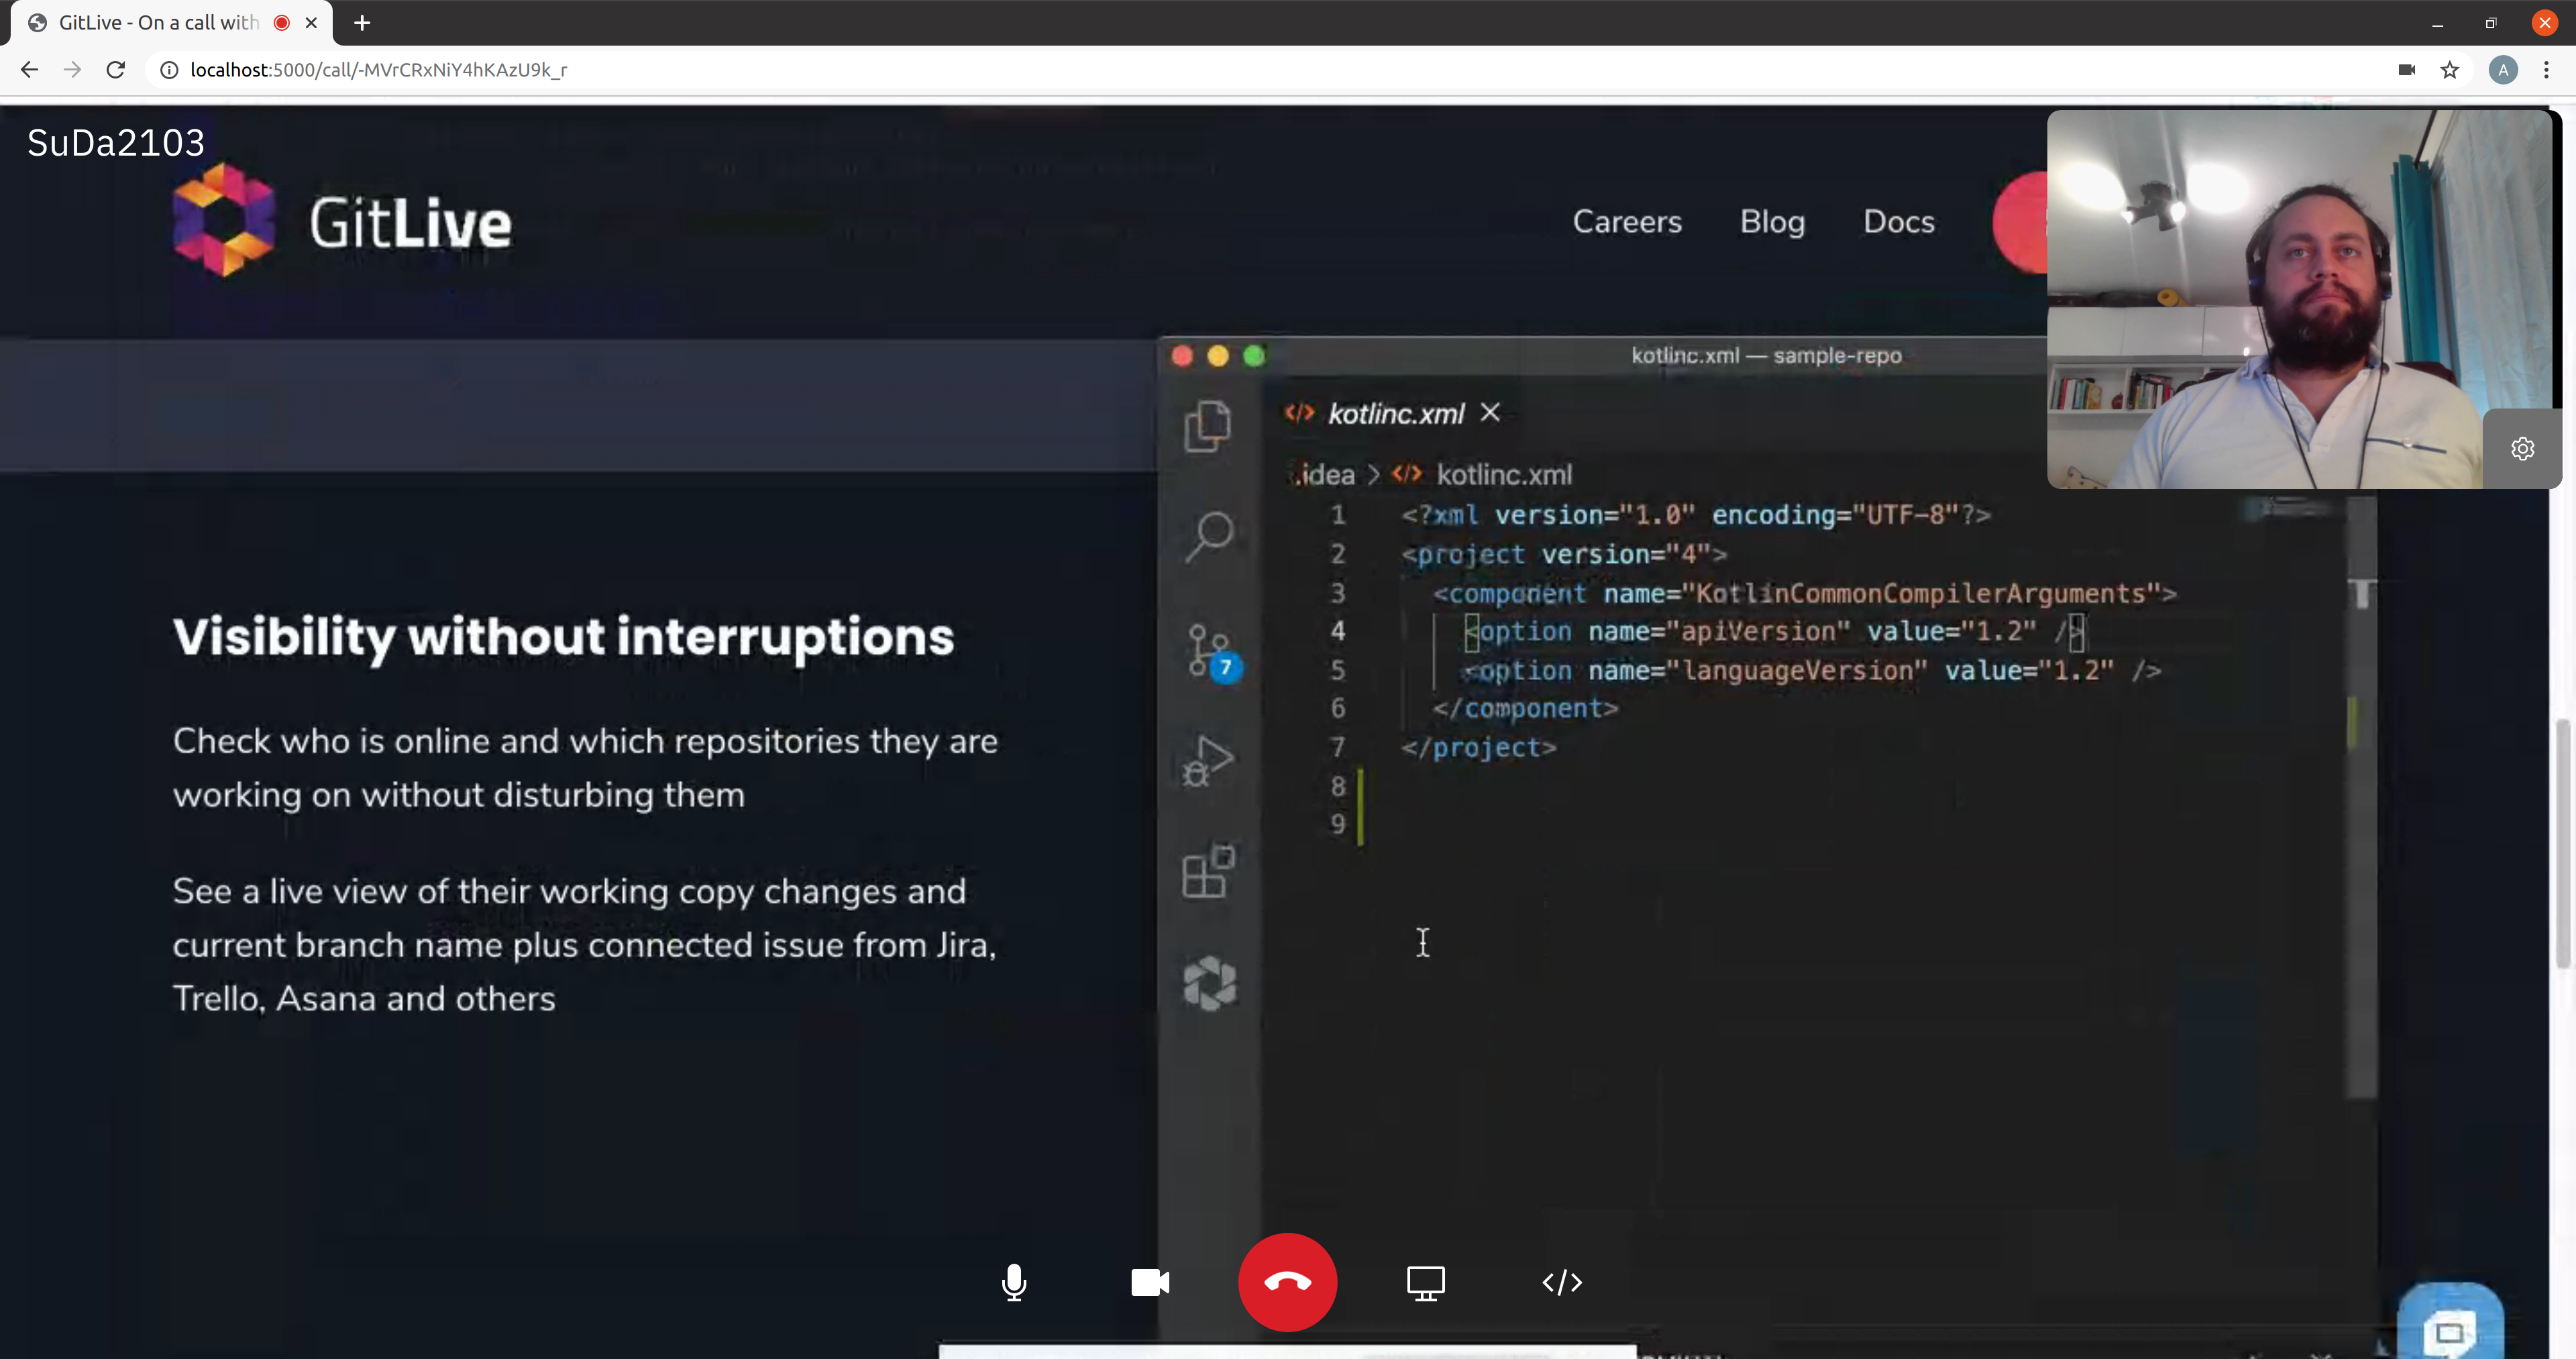
Enable Video
When you first join a call, it will default to an audio call. At any point, any participant can choose to turn on their video to begin a video call.
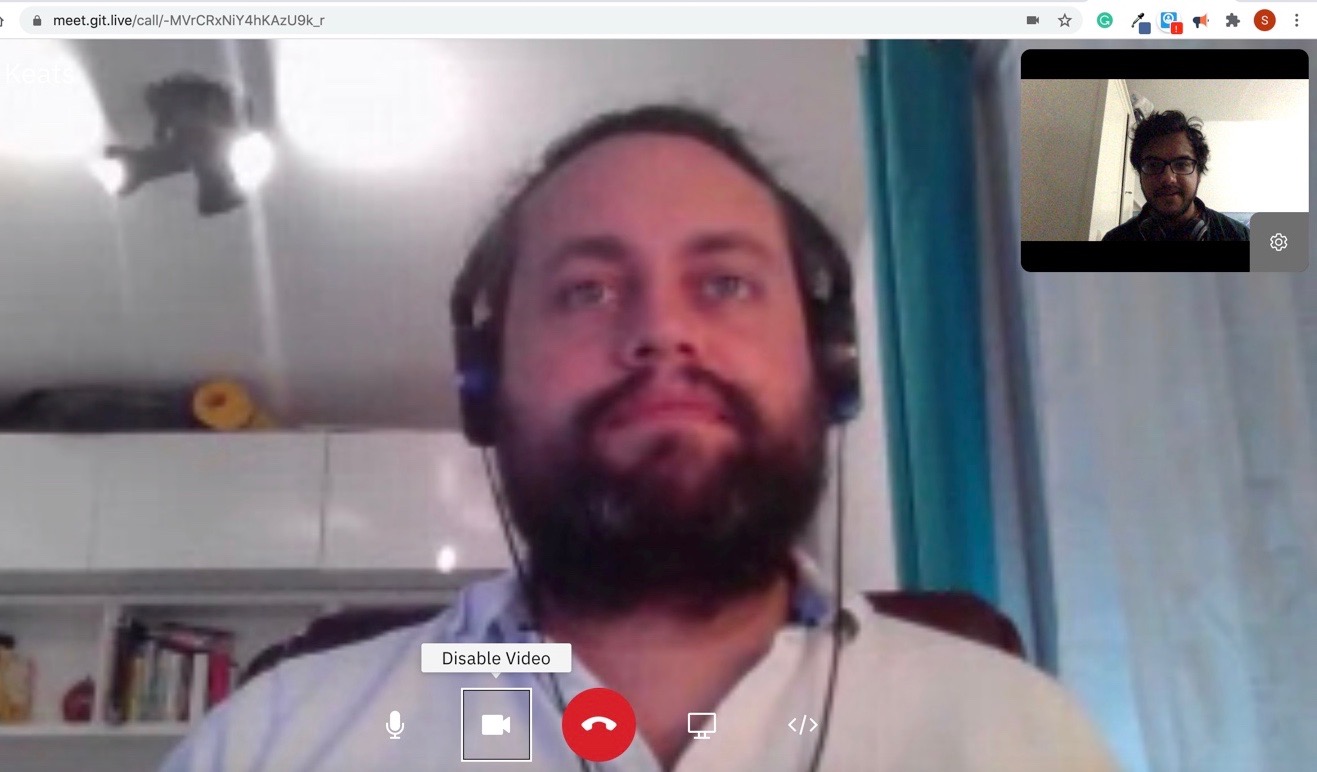
Mute Microphone
If you choose to mute your microphone, other users will see the mute icon next to your name, so that they are aware of the fact that your microphone has been muted.

Busy Status While on a Call
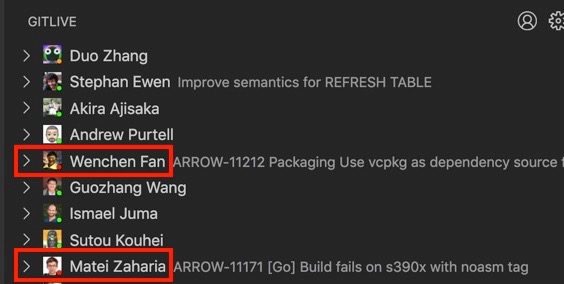
In addition to the green (online) or orange (away) dot beside a user’s avatar in the GitLive tab, there is also a busy (red) status. During a call, the status indicator for both participants will turn red and others won’t be able to call either teammate until their call is complete.
Ending the Call
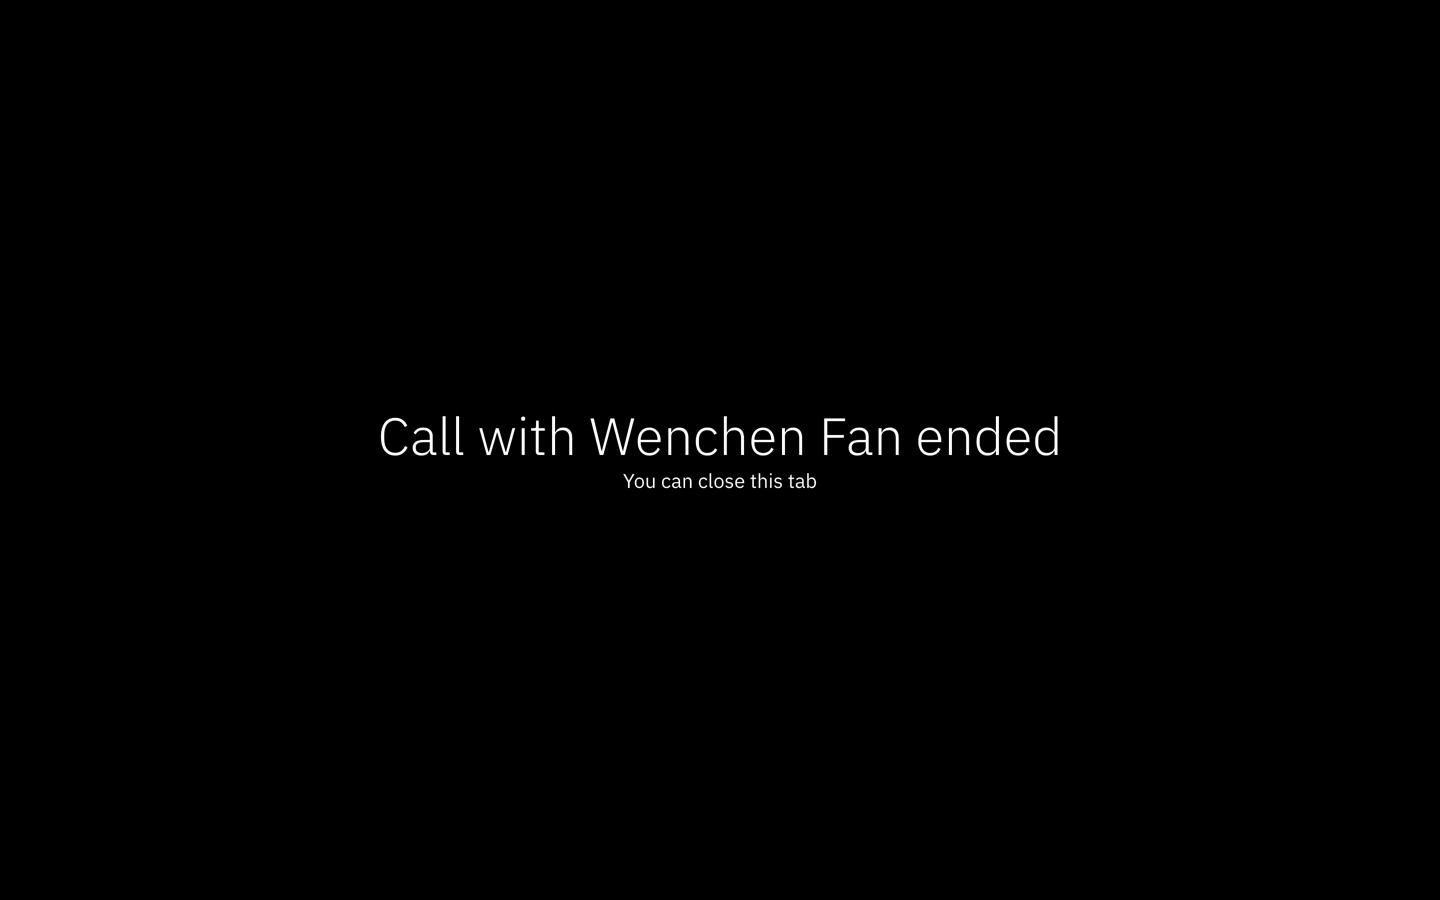
Once the call has ended, a message will appear notifying both participants. At this point, you can close the tab in your browser and return to your IDE.
Overview
GitLive’s video-calling feature allows you to call teammates straight from your IDE and work together on files like you would on a Google Docs collaboration. This feature will undoubtedly boost your productivity when you want to fix code issues with a teammate.
Instructions
Step 1
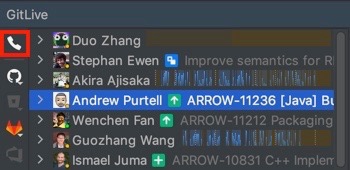
Next to a teammate’s name, you will find a phone icon allowing you to place a call.
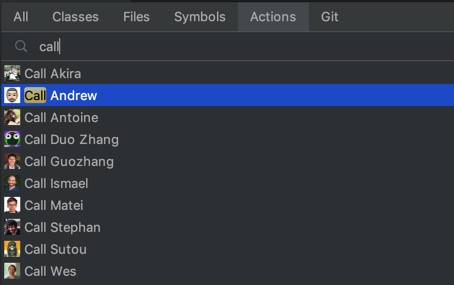
You can also call any teammate through the “Search Everywhere” list. You can access your contact list from the actions tab of the “Search Everywhere” list.
Step 2
You will then get a pop-up notification that you have sent the request to call and are waiting for your teammate to accept it. The call gets cancelled automatically after 15 seconds, leaving your teammate with a notification about the missed call and the option to call back.

Step 3
The teammate you are looking to call will then get a pop-up notification. Once they answer, the call opens up in their browser.

Call Interface
The call is launched through a web app, that opens up after a call has been answered.

Calling Features
There are four main controls available whilst on the call. You can choose to mute yourself, to enable or disable video, to screen share or codeshare.

|

|

|

|
CodeShare
Selecting the share code option opens up a modal, which shows the different projects you have open and the different methods of pair programming that are available.

Selecting the GitLive option is the quickest way to start a collaboration session in your IDE. This means that any file the host opens will also open in the IDE of the guest, allowing you both to edit together as you would in a google doc. You can even codeshare on files that aren’t under source control (such as files ignored in Git) or files from outside the directory (such as external libraries’ source files.

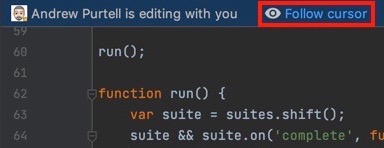
By default, you will automatically follow each other’s cursors when scrolling or switching files. You can disable following from within the IDE to work independently.
You can choose to use JetBrains Code With Me to collaborate, rather than GitLive’s proprietary code sharing solution. You can find more information about using Code With Me here.
ScreenShare
You have the option to share your screen with the other participant on the call, which can be useful if you need to share content from your browser or terminal. You can share a specific window or your entire desktop.

Enable Video
When you first join a call, it will default to an audio call. At any point, any participant can choose to turn on their video to begin a video call.

Mute Microphone
If you choose to mute your microphone, other users will see the mute icon next to your name, so that they are aware of the fact that your microphone has been muted.

Busy Status While on a Call
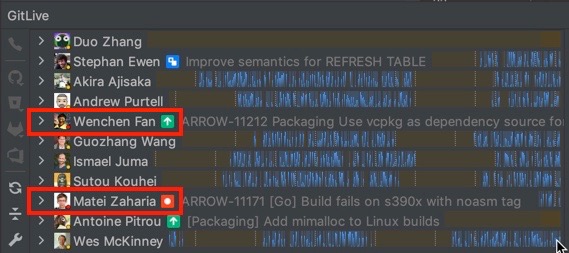
In addition to the green (online) or orange (away) dot beside a user’s avatar in the GitLive tab, there is also a busy (red) status. During a call, the status indicator for both participants will turn red and others won’t be able to call either teammate until their call is complete.
Ending the Call
Once the call has been ended, a message will appear notifying both participants. At this point, you can close the tab in your browser and return to your IDE.

Overview
GitLive’s video-calling feature allows you to call teammates straight from your IDE and work together on files like you would on a Google Docs collaboration. This feature will undoubtedly boost your productivity when you want to fix code issues with a teammate.
Instructions
Step 1
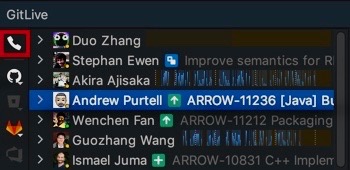
Next to a teammate’s name, you will find a phone icon allowing you to place a call.
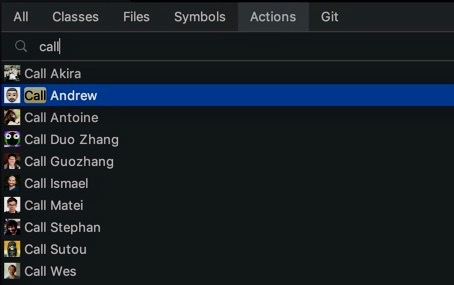
You can also call any teammate through the “Search Everywhere” list. You can access your contact list from the actions tab of the “Search Everywhere” list.
Step 2
You will then get a pop-up notification that you have sent the request to call and are waiting for your teammate to accept it. The call gets cancelled automatically after 15 seconds, leaving your teammate with a notification about the missed call and the option to call back.

Step 3
The teammate you are looking to call will then get a pop-up notification. Once they answer, the call opens up in their browser.

Call Interface
The call is launched through a web app, that opens up after a call has been answered.

Calling Features
There are four main controls available whilst on the call. You can choose to mute yourself, to enable or disable video, to screen share or codeshare.

|

|

|

|
CodeShare
Selecting the share code option opens up a modal, which shows the different projects you have open and the different methods of pair programming that are available.

Selecting the GitLive option is the quickest way to start a collaboration session in your IDE. This means that any file the host opens will also open in the IDE of the guest, allowing you both to edit together as you would in a google doc. You can even codeshare on files that aren’t under source control (such as files ignored in Git) or files from outside the directory (such as external libraries’ source files.

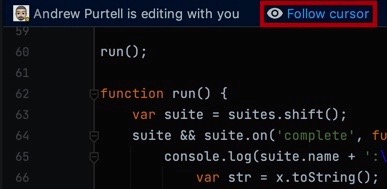
By default, you will automatically follow each other’s cursors when scrolling or switching files. You can disable following from within the IDE to work independently.
You can choose to use JetBrains Code With Me to collaborate, rather than GitLive’s proprietary code sharing solution. You can find more information about using Code With Me here.
ScreenShare
You have the option to share your screen with the other participant on the call, which can be useful if you need to share content from your browser or terminal. You can share a specific window or your entire desktop.

Enable Video
When you first join a call, it will default to an audio call. At any point, any participant can choose to turn on their video to begin a video call.

Mute Microphone
If you choose to mute your microphone, other users will see the mute icon next to your name, so that they are aware of the fact that your microphone has been muted.

Busy Status While on a Call
In addition to the green (online) or orange (away) dot beside a user’s avatar in the GitLive tab, there is also a busy (red) status. During a call, the status indicator for both participants will turn red and others won’t be able to call either teammate until their call is complete.

Ending the Call
Once the call has been ended, a message will appear notifying both participants. At this point, you can close the tab in your browser and return to your IDE.
